Faking a HomeKit Doorbell with Ubiquiti UniFi Camera and a Zigbee Scene Switch
One thing that I’ve wanted since renovating our house is a smart-doorbell. The big problem though is that they’re ugly. They’ve fallen out of the ugly tree, hit every branch on the way down, and then been beaten by a gang of passing teenagers with an ugly stick. I like minimalist, and the existing cameras plus a small button is all I want!
As for technology, the easiest to use are Native HomeKit door bells. These will notify all house users and also play a chime on HomePods in the house. Not only this, but for iPhone users, it gives the ability to talk to the person at the door and unlock the front door easily.
The goal of this page is that as we already have Ubiquiti UniFi cameras, I thought that I’d use an existing camera and buy a simple waterproof scene switch to use as the button. We’ll then present this to Apple Home as a video doorbell.
Introduction
So this guide uses a specific button and a specific camera. Realistically, any button that makes MQTT messages and any camera that can be added to Home Assistant should work.
Making a door bell from a separate camera and button also gives us a really cool benefit – instead of detecting motion, we can use any binary sensor in Home Assistant as the ‘motion’ sensor instead. It is trivial to therefore make it detect people instead of just movement. This massively reduces false alarms due to kangaroos (yes really - I presume that birds, racoons, squirrels, or other animals are likewise an issue in other countries too).

A uniquely(?) Australian problem
Requirements
You will need to either set up things like in the previous guide to setting up a smart home with Clipsal Wiser (i.e. Zigbee) + HomeBridge + Home Assistant), or have the following running:
- Zigbee2MQTT (with the button set up)
- Home Assistant (with the Ubiquiti / Camera set up)
- A working HomeKit setup (i.e. an Apple TV / HomePod / etc, plus Home set up and working).
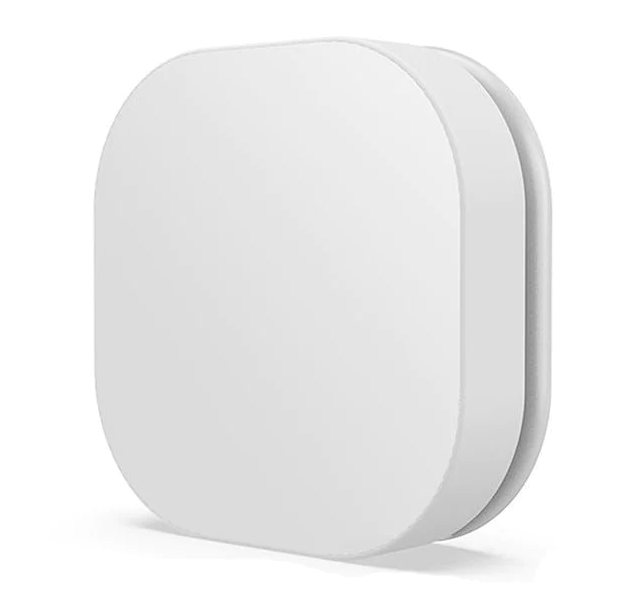
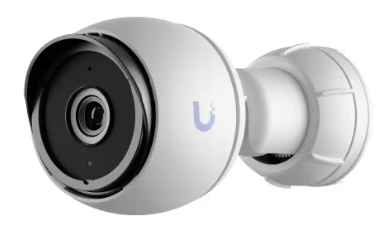
I also have the following bits of hardware. Both of these are set up (i.e. the camera is in Home Assistant using the Ubiquiti plugin, and the Zigbee scene switch is paired with my controller / Zigbee2MQTT).
Getting Started - Home Assistant
While there appears to be support for the Ring in HomeBridge, we’re going to need to use Home Assistant instead. This is because we need to map together two separate devices into the one doorbell entity to provide to HomeKit.
You’ll need to be running the HomeKit plugin in Home Assistant and have connected this bridge to the Apple Home app.
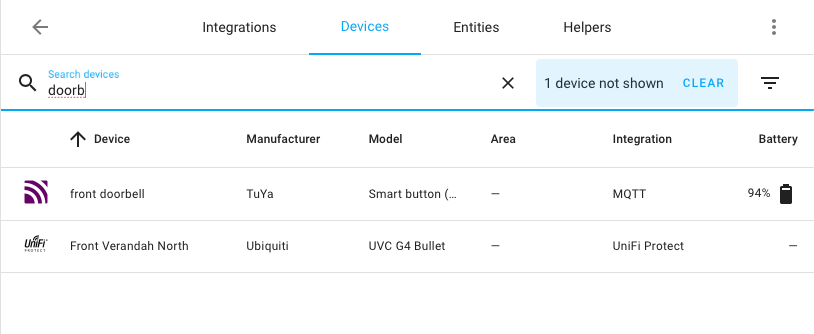
At this point, you should have the two set-up like so:
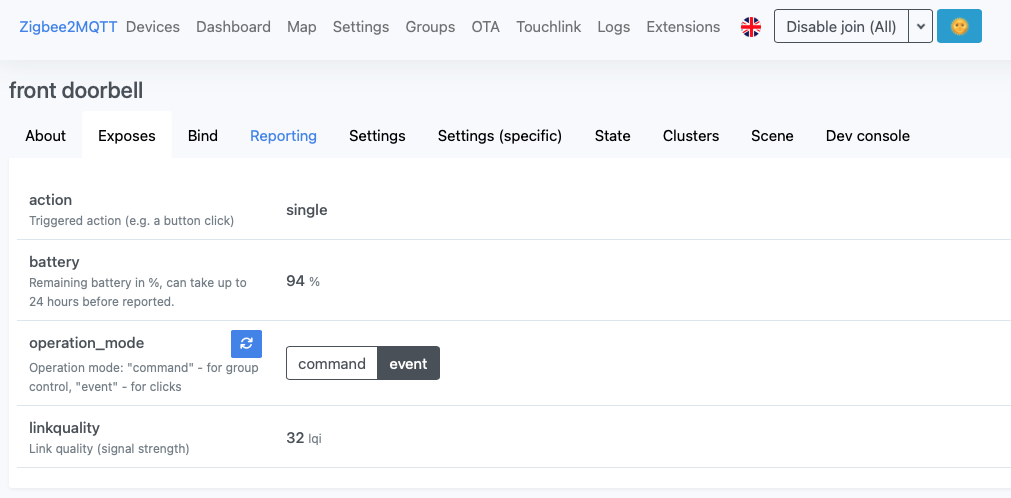
Working Around The Buggy TuYa/Moes Scene Switch
Firstly, you need to go into Zigbee2MQTT and ensure that the button is set to
event mode.
Then it turns out that there is a bug in this scene switch (or home assistant). When pressed, it sends an MQTT message like so:
Zigbee2MQTT:info  2023-07-13 09:57:10: MQTT publish: topic 'zigbee2mqtt/front doorbell',
        payload '{"action":"single","battery":94,"linkquality":54,"operation_mode":"event","voltage":2900}'
But then it never sends a message stating that the action has finished, and Home Assistant assumes that the state is still continuing. We need therefore to use the MQTT plugin in Home Assistant and listen for the message above as a trigger, rather than try and use the state of the switch.
We can do this with the template plugin and use the MQTT trigger option. Add the
following to Home Assistant’s configuration.yaml (noting that you will need to
replace “front doorbell” with whatever you have called the button in
Zigbee2MQTT:
template:
  ...
  - trigger:
      - platform: mqtt
        topic: zigbee2mqtt/front doorbell
        payload: "single"
        value_template: "{{ value_json.action }}"
    binary_sensor:
      - name: doorbelltriggered
        auto_off: 3
        state: "true"
Note the ellipsis above (…) - you’ve probably already got a template block, so just add the rest of that block of code to it.
This will create a binary sensor with the name “doorbelltriggered”. Why do we
do this? Because the HomeKit plugin for Home Assistant requires a
binary_sensor entity to work correctly as the doorbell button. Secondly, it
automatically turns off after 3 seconds. Finally, the payload /
value_template is really confusing, but all it does is check that the value
“single” is in a JSON element called “action”. You can look at the message from
the MQTT logs above to see what I mean.
We can now add the following to our HomeKit block. In my setup, nearly everything goes to HomeKit via HomeBridge, except a few specific entities (that are typically derived ones or not supported in HomeBridge). I therefore configure my homekit block in configuration.yaml like so:
homekit:
  filter:
    include_entities:
      ...
      - camera.doorbell_camera
  entity_config:
    camera.doorbell_camera:
      name: Doorbell
      support_audio: false
      linked_doorbell_sensor: binary_sensor.doorbelltriggered
      linked_motion_sensor: binary_sensor.doorbell_camera_person_detected
In my case, the camera I’m using is called “doorbell_camera”. You’ll need to search through your entities in Home Assistant to find out what yours is called.
If you want to be extra tricky, and only have HomeKit tell you when a person is detected (rather than any motion at all), you can add the last line above, which is part of the default sensors that Home Assistant creates for a Ubiquiti camera. You’ll need to search through Home Assistant to find out what it is called.
Also, set support_audio to either true or false depending on your preference.
Setting it up in HomeKit
Open up the Home app, and you should now have a door bell in your default room. I have a room called “Entrance”, which contains this door bell, plus the front door lock, plus the lighting. This has the benefits of the below (see last screenshot).
Testing
Go into the developer mode, and reload both the templates section and the HomeKit YAML.
Now just press the button!
You should get both a chime from any HomePods in your house, and also an alert on your phones / etc that looks like this:

If you press on it, it’ll open up the door bell inside the home app, which is a bit useless (you can close it and then you’ll be in the room), or you can long-press which does this:
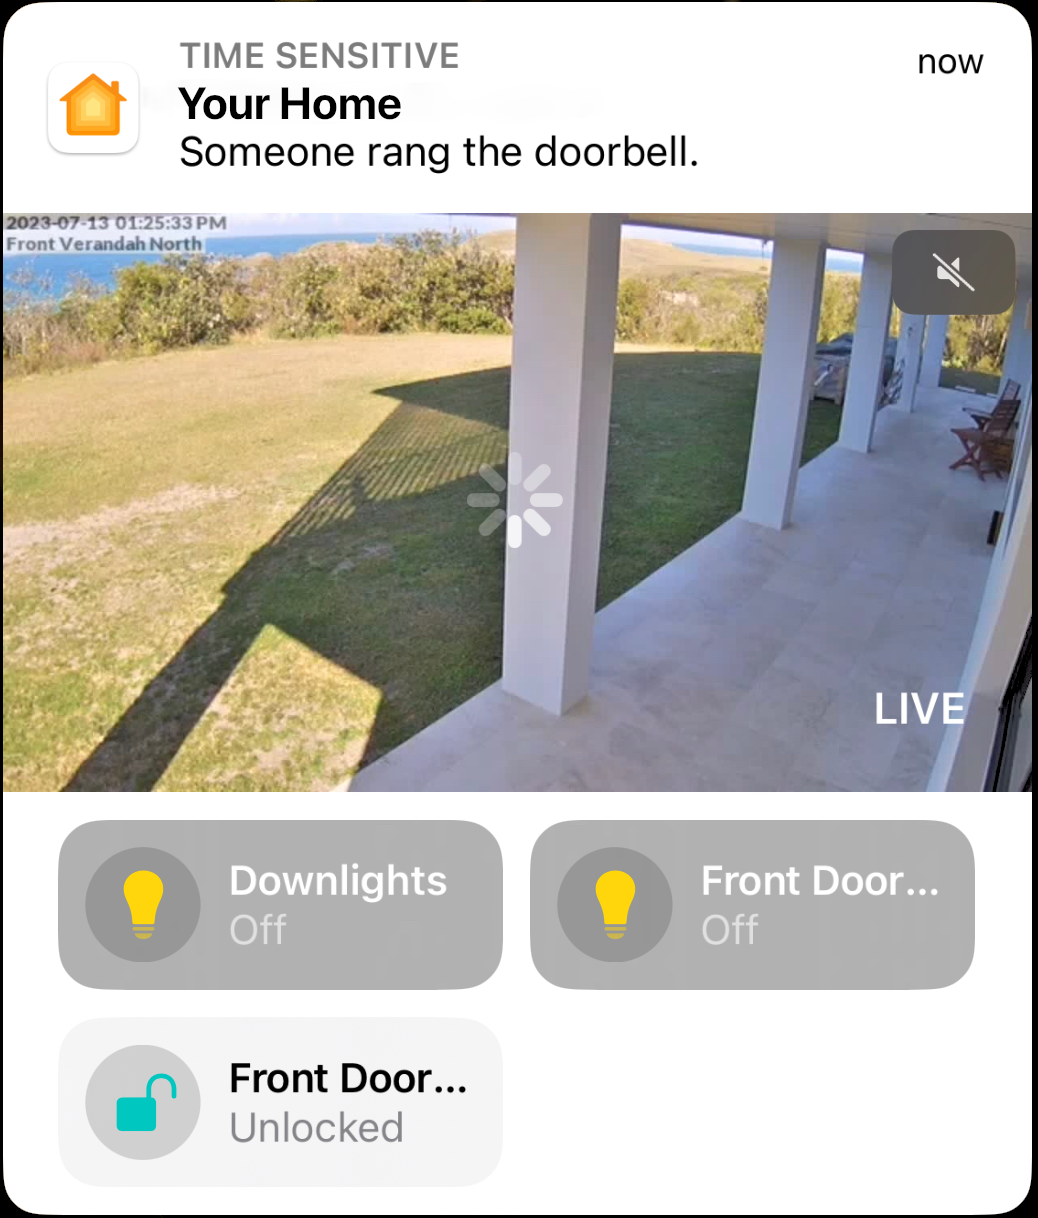
And from here, you can see the other items in the same room, and even unlock the door if you’d like.
